
- Week 1
- Week 2
- Week 3
- Week 4
- Week 5
- Week 6
- Week 7
- Week 8
- Week 9
- Week 10
- Week 11
- Week 12
- Week 13
- Week 14
- Week 15
- Week 16
- Week 17
- Week 18
- Week 19
- Week 20
- Week 21
- Day 75
- Day 76
- Day 77
- Day 78
- Day 79
- Day 80
- Day 81
- Week 22
- Week 23
- Week 24
|
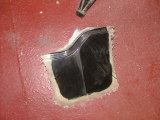
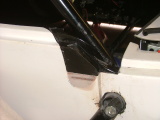
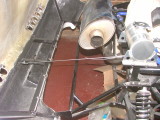
Another busy day When John had come around to see how I was doing, he dropped off some replacement rear corners for the body section because I'd cut mine down too low (it wasn't my fault; the roll cage is slightly too wide). I decided that I'd fit one side today and see how it goes. This is one of the corners
It's designed to fill this space:
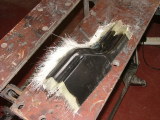
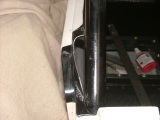
First of all, I trimmed the bottom.
This allowed me to draw some lines on the section, and after a lot of trimming, I had something that filled the gap (more or less).
It's held by a plate of aluminium stuck with Sikaflex. I'll put some body filler on it to fill the gaps a bit more, and then sand it down. The only problem is that I trimmed a little too much (although not as bad as before).
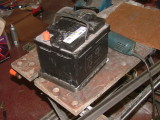
The next thing to do was fit the battery. All the other Aeons I've seen have a racing battery on the bottom chassis rail - however, I've got an air intake there, so I'll be placing an larger battery above the top chassis.
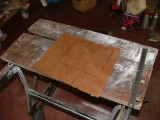
The fuel filler hose can't go below the top chassis, so the battery needs to be raised. I drew the chassis lines on a piece of paper, and also the outline of the battery.
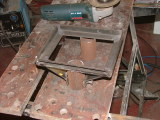
As it happens, the battery's centre-line is the same as the top chassis rail. I made the battery tray first of all - and cut a slot in the front to prevent the battery from falling out.
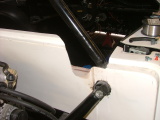
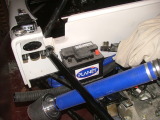
And to raise the battery, I used two short lengths of 50mm round tube, and put some braces to give it some strength.
After welding a locating pin for the rear, I welded the tubes to the chassis. This means the engine doesn't have to negotiate any new bracketry if it needs to come out.
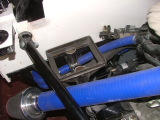
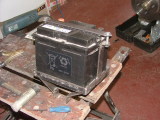
The final job was to put a strap on the battery. I extended some rails upwards with a right angle at the top, and then made a steel strap. Two M8 bolts hold the battery in place.
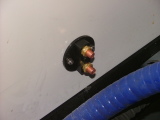
This isn't going anywhere! With the battery place chosen, I put a battery kill switch behind the left hand passenger's seat location.
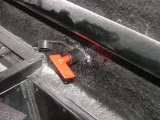
Earlier in the day, I bought some steel wire to hold the rear section in place - beforehand, I was resting it against the freezer in the garage, which won't always be available!
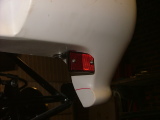
I'll put another one in place when I finish the exhaust off. The last job of the day in the garage was to fit the rear reflectors. I got some rectangular ones, and rounded off one corner. I then made some steel brackets to hold them.
And this is what it looks like:
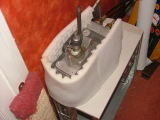
I'm using one of the bolts that hold the rear brace bar in place (and likewise for the other side). Back indoors, I stuck some foam to the gearstick casing - I'll make a gaiter for it later on.
|

Copyright © 2005-2007 Tribbeck.com / Jason Tribbeck