

- Week 25
- Week 26
- Week 27
- Week 28
- Week 29
- Week 30
- Week 31
- Week 32
- Week 33
- Week 34
- Week 35
- Week 36
- Week 37
- Week 38
- Week 39
- Week 40
- Week 41
- Week 42
- Week 43
- Week 44
- Week 45
- Week 46
- Week 47
- Week 48
- Day 139
- Day 140
- Day 141
- Week 49
- Week 50
- Week 51
- Week 52
- Week 53
- Week 54
- Week 55
- Week 56
- Week 57
- Week 58
- Week 59
- Week 60
- Week 61
- Week 62
|
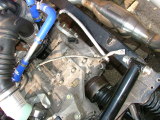
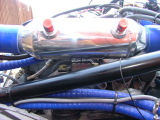
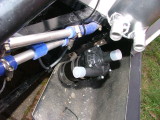
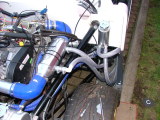
Earlier in the week, I'd got the cable for the ECU so I could see what was happening. The power was dropping too low, and after getting a brand new second battery and wiring that to power the ECU while the starter was powered by the other, it didn't help. So I decided to bolster the earthing points.This is a 180A earthing strap, and I've wired it to a bolt that joins the engine and the gearbox and the chassis.
I'll also get another one and wire it to the cylinder head (Scooby recommended that). Anyway, the main aim of today was to get the charge cooler plumbed in. The first part was very easy - I already had everything pretty much done from beforehamd, and push-fitting it together, it looked good.
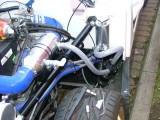
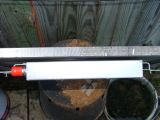
The only problem was the throttle body. The outlet from the charge cooler is 57mm, and the throttle body inlet is 60mm. I'd tried to push the silicon hose over the end, but it really didn't want to know - and no-one seems to make a 57mm to 60mm conversion pipe. Since I had started work on this part using the intercooler, I had bought some bits - this is actually an exhaust step pipe, going from 60mm to 57mm, and then 57mm to 54mm:
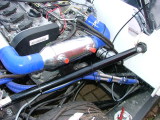
And after cutting the 54mm bit off, and then trimming both ends, I had something that worked:
I was wondering how to mount it - originally, I was going to make a T-shaped bracket that I would weld to the engine mount, and use a couple of cable-ties to hold it in place. However, I found that if I moved the fuel filter out of the way, I could actually use a couple of cable-tie holders glued to the top of the engine mount instead.
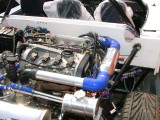
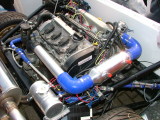
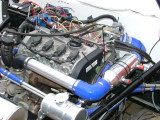
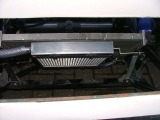
And with all the hose clips on:
This is significantly tidier than the intercooler! I made a bracket to hold the header tank.
And another one to hold the water pump.
And then I started on the plumbing.
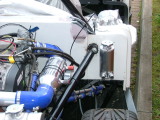
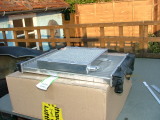
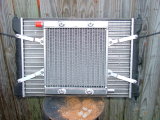
I put two hoses from the front to the back, and started work on mounting the charge cooler radiator in front of the main radiator. To assist that, I took the radiator off. This is where it broadly needs to go:
I made some brackets out of aluminium, to join the tabs on the charge cooler radiator with the mounting points on the main radiator:
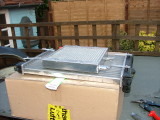
And with everything tightened:
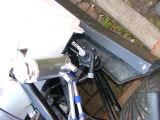
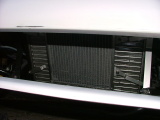
Another thing Scooby said was to make the gap between the two radiators as small as possible, and this is as close as I could get without welding aluminium:
It was getting late, but there was just enough time to get the rest of the pipework roughly in place.
|


Copyright © 2005-2007 Tribbeck.com / Jason Tribbeck