

- Week 25
- Week 26
- Week 27
- Week 28
- Week 29
- Week 30
- Week 31
- Week 32
- Week 33
- Week 34
- Week 35
- Week 36
- Week 37
- Week 38
- Week 39
- Week 40
- Week 41
- Week 42
- Week 43
- Week 44
- Week 45
- Week 46
- Week 47
- Week 48
- Week 49
- Week 50
- Week 51
- Week 52
- Week 53
- Week 54
- Week 55
- Day 160
- Day 161
- Week 56
- Week 57
- Week 58
- Week 59
- Week 60
- Week 61
- Week 62
|
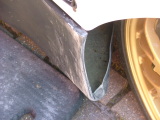
I started today with sanding down the edges of the sills. I'd done this on the old sills - but hadn't got around to it yet on the new ones.
And then did the offside back join...
...along with the seam
And I did the other side in the same way.
I put some more bodyfiller over the join between the two sections, and sanded it down later on - but forgot to take pictures of it. I then did the other three corners of the sills (this time, assisted by my angle grinder - giving it a nice chamfer before doing the curve by hand).
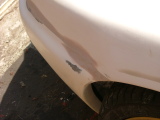
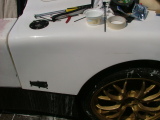
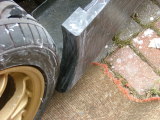
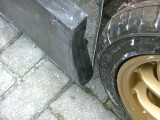
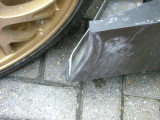
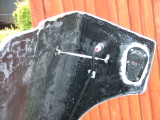
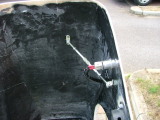
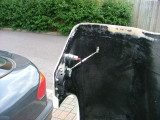
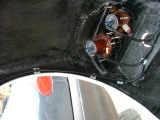
I'd bought some "lamp steadies" that are meant to keep lamps steady in old-style cars. They've got a male/female threaded barrel, and what amounts to a one-axis bearing at each end. These I was going to use on the doors if I needed to push/pull them into alignment - however, I think I can get away without this, so I decided to use them on the front (I've got another couple as well) to push the side panel out a little.
After using some GRP and also painting them:
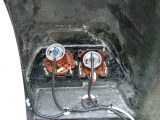
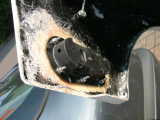
While I had the paint out, I also took the liberty of painting the rear of the lamp plates.
And finally removed the last of the self-adhesive cable tie holders from inside the front section.
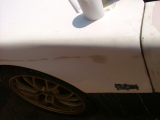
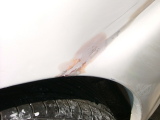
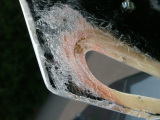
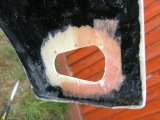
Now the front section opens and closes very smoothly (although if you do it from the side, you still need to 'wiggle' it a bit). On one occasion, it accidentally blew shut, and cracked the gelcoat a bit - this was because I'd sanded down a bit too much in the aerolock area, so I put a couple of chopped strand matting over it, just in case it happens again.
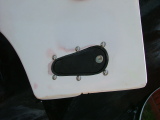
And I then re-fitted the aerolock - this time using stainless bolts, rather than the non-stainless bolts they supply (why?).
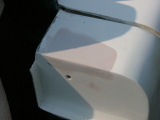
And I then put some GRP on the other side as well (this hadn't cracked, but the gelcoat was thinner than the side I'd just done!)
I need to sort out the door shut gaps - they're a little bit tight at this moment in time, and once painted, it may be too much. |

Copyright © 2005-2007 Tribbeck.com / Jason Tribbeck