
- Week 1
- Week 2
- Week 3
- Week 4
- Week 5
- Week 6
- Week 7
- Week 8
- Week 9
- Week 10
- Week 11
- Week 12
- Week 13
- Week 14
- Week 15
- Week 16
- Week 17
- Week 18
- Week 19
- Week 20
- Week 21
- Day 75
- Day 76
- Day 77
- Day 78
- Day 79
- Day 80
- Day 81
- Week 22
- Week 23
- Week 24
|
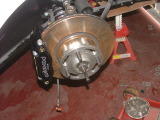
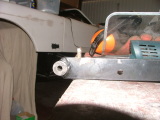
Phew! I started today shortening the studs on the front wheels - they were a little long when I tried putting the wheels on.
And after shortening them.
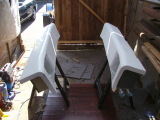
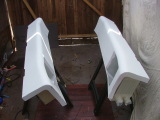
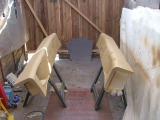
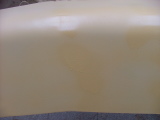
(I put the hub cover on while cutting them). Since today was the first bright and warm day for a very long time, I decided to paint the side pods.
I sanded them with 400 grit paper to clean off the dirt, finish the edges and give them a key.
And then it was time for the first paint - etch/build primer.
This side looks pretty good.
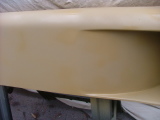
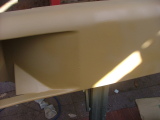
This side ended up with some bits in the join - they sanded out fine.
Since it's been a couple of years since I last did any large surface painting, I had a couple of runs (I couldn't get nice consistiency). They also sanded out nicely.
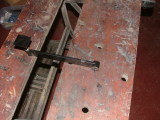
With this coat drying, I did some work on the accelerator pedal. On the demonstrator, John had welded a nut to the pedal to take a bolt as a front stop. I ecided to do the same (I had some other ideas, but this was the easiest).
I removed the powder coating from the area I was going to place the nut, and also trimmed the side bush down a bit (it was a very tight fit). I then welded a nut a moderate distance away from the pedal.
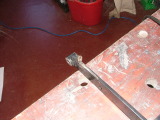
And then I ground the excess above the nut (John had put a lock-nut above it).
And after painting it, then re-fitting it.
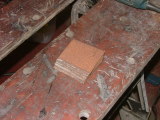
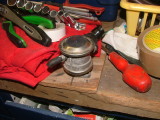
The seats need some plates for strengthening the bolts that will hold them in place. I had a bit of 75mm wide plate left over, so I cut it into 70mm wide sections for the plates.
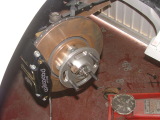
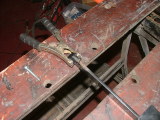
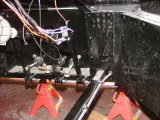
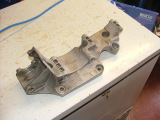
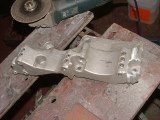
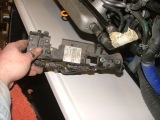
I'll need some more - I saw some at a nearby DIY store that I've bought some odd bolts from before, so I'll get them tomorrow and mount the seats (after drilling through them). I then sanded down the side pods and put another coat of primer on it - that was it for the day (it was getting darker, and I know that you can't paint when it's too cold or damp). It was then time to mount the alternator. This is the bracket that holds the alternator, as well as some other bits such as the tensioner (which I'll need) and the air conditioning pump (which I won't).
After placing it in the right place, I worked out which bit to remove - the air conditioning pump. The rest of it I'll keep for strength.
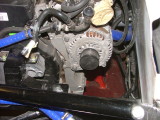
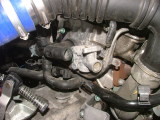
I then bolted it to the engine, and also the alternator itself.
And then the tensioner.
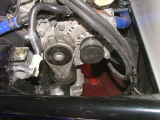
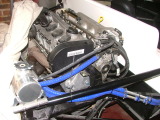
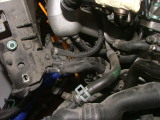
While the engine bay was exposed, I fitted the top header tank pipe.
There were some bits that I don't need on the engine as I'm using an aftermarket ECU.
|
Copyright © 2005-2007 Tribbeck.com / Jason Tribbeck